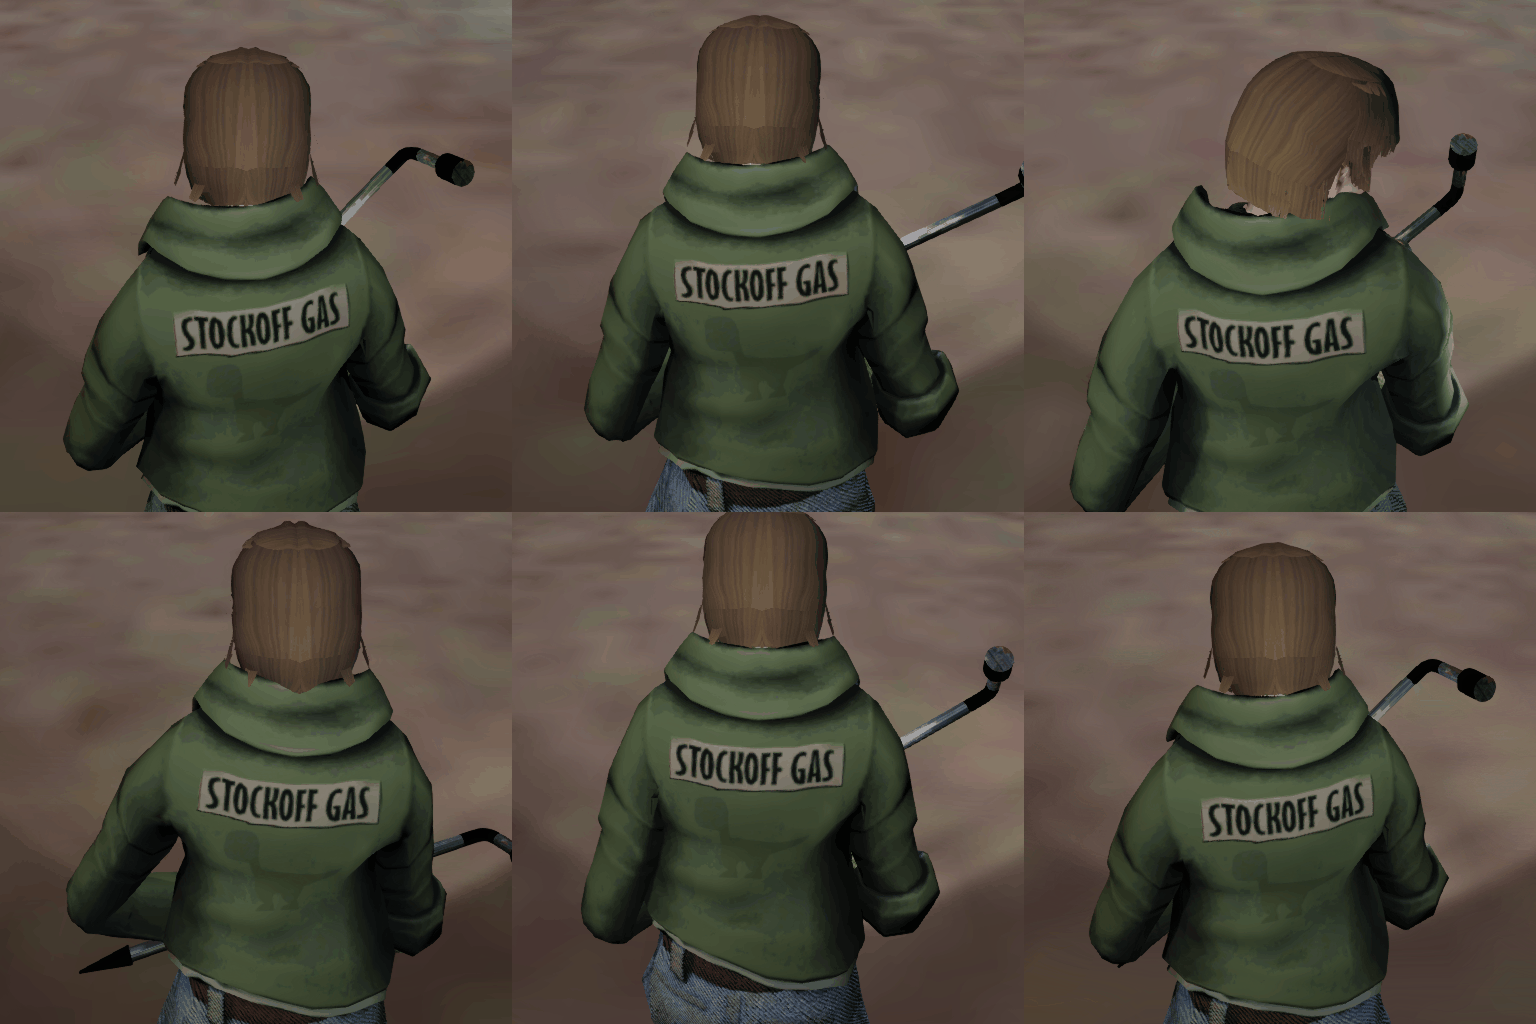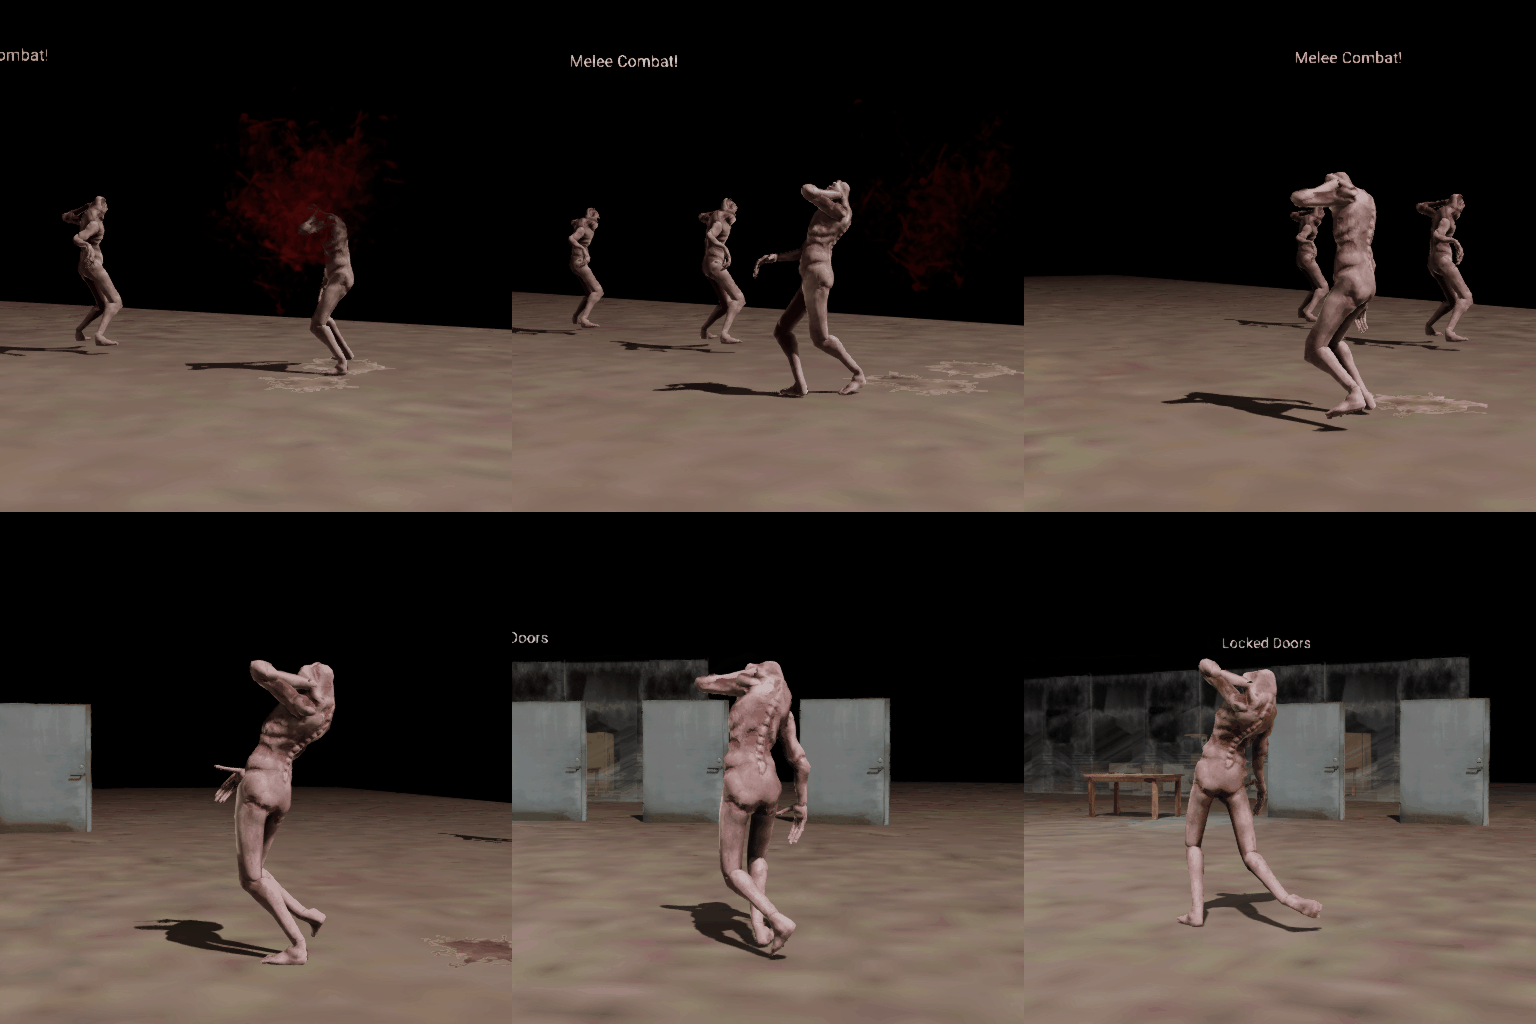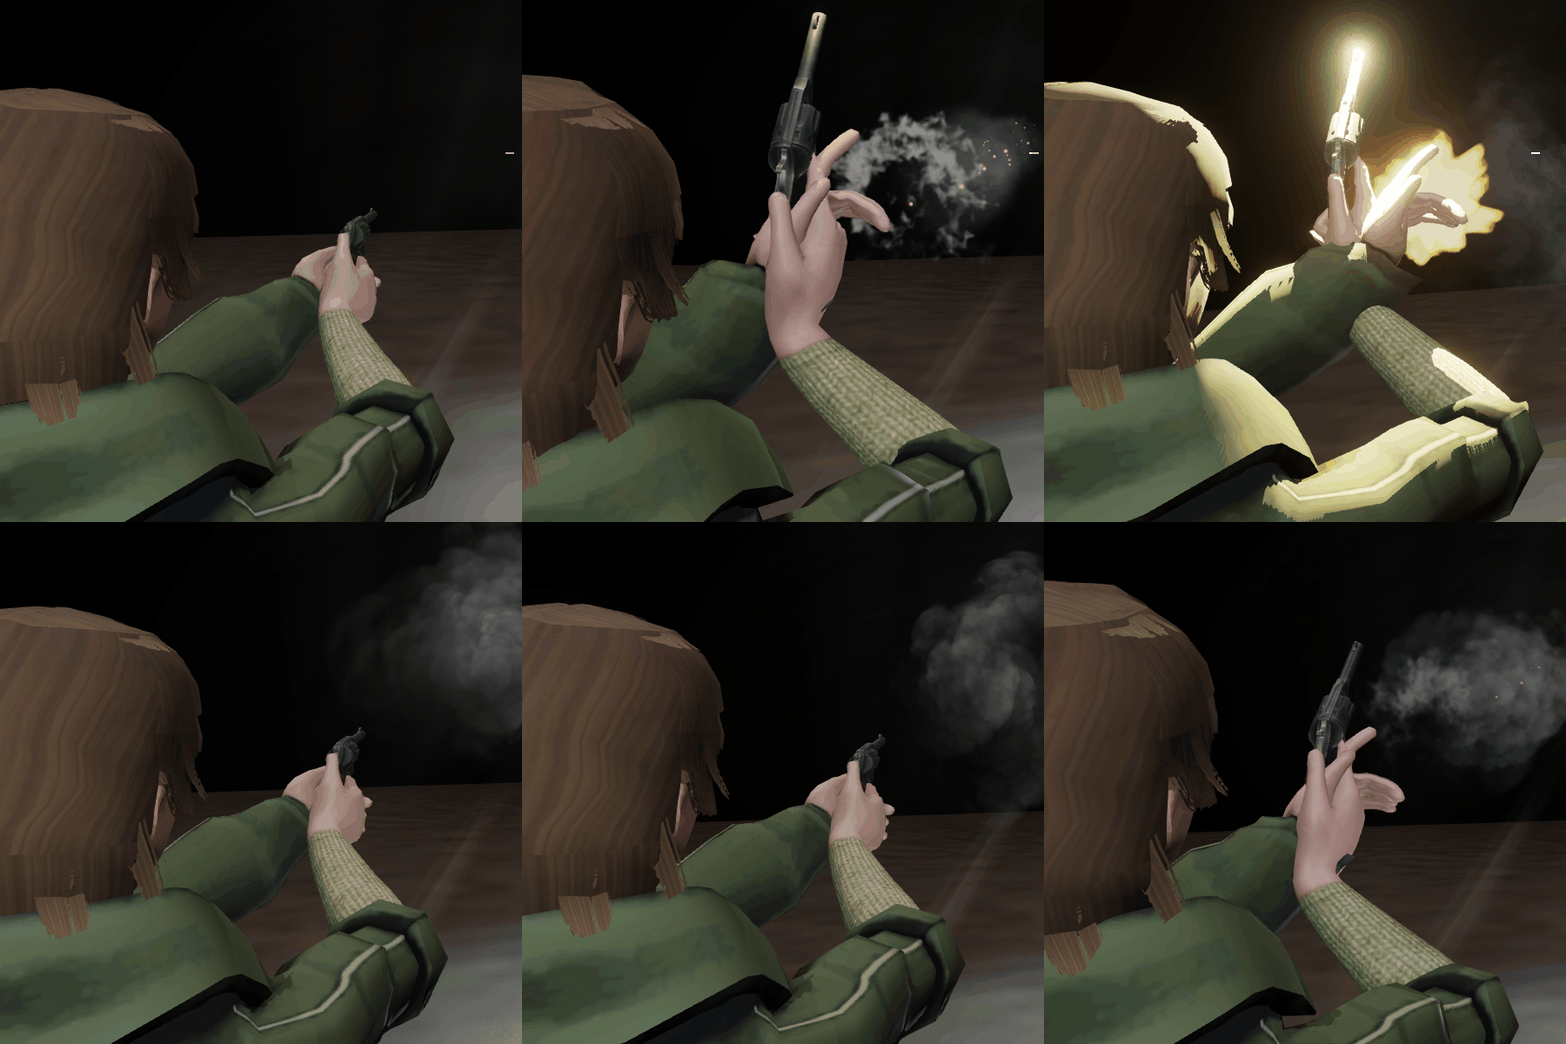
Shattered
2025
Specifications
Genre: Survival Horror
Engine: R.O.S.E.
Language: C++
Editor: Unreal
Time: 14 Weeks (50%)
Team: 17 People
Introduction
Fight your way through an apartment complex and piece together the fragmented memories of a crime you did not commit.
Shattered is a survival horror game inspired by the Silent Hill 2 Remake. It features similar combat, an eerie atmosphere, and a disturbing story to uncover.
Contribution
My role during Shattered was to continue acting as the engine programmer in the team. However, I also worked on animation, tools, graphics, and gameplay. At the start of the project, I focused on optimizing the rendering because our game would use a lot of lights, and it all takes place in a single level.
Details
Save & Load
Because our game takes place within a single level, we decided that we needed to implement checkpoints into the game. Therefore, there had to be created a system which saves an entity's and its components state that can later be loaded quickly. I decided that an Entity or Component have to opt in to be saveable because if we saved everything, it would cause a significant lagspike when trying to load. For example, there is no real benefit to saving the state of static meshes within the level. Another requirement is that it has to be able to save/load to and from a file, because in the main menu you can load checkpoints directly.
With the help of nlohmann JSON serialization, it was trivial to write the logic for entities and components to serialize their data and write to files. An added feature was for the user to serialize their custom data in a component, e.g., which keys have been picked up, how much health does the player have, etc. Similar to how serialization works for variables when importing from Unreal, the user can add a macro in a component to specify which variables that should get save/loaded.
When the game saves, it starts from the root entity, which all entities have as their parent by default if it hasn't been set to another. It then recursively goes through each entity and their children to save their data and the components they hold. When the game loads, it finds the entities with the same ID and updates their data and their components. If it cannot find the entity or component, it creates it anew and does the same.
To make sure that the same entities are referred to across sessions, support for GUID was added to entities.
Light Volumes & Stencil Culling
A problem we had in our previous game project, Spite, was the inefficiency of rendering spotlight and pointlights. All lights were appended to a global list, where for every pixel on-screen, every single light was executed in a shader. This is horribly inefficient, and improving it was relatively straightforward by utilizing light volumes instead.
For every light (except directional), a volume is rendered, for spotlight this is a cone, where for pointlight it is a sphere. This ensures that only the pixels that are affected by the light are the ones that get executed in shader. This dramatically increased the performance, allowing us to have significantly more lights in the world.
An additional optimization that was added to light volumes were stencil culling. The idea is to prevent executing the shader on pixels that do not touch any intersecting surface. For example, if the light is floating in the air with no surface nearby, then no pixels will be executed. By rendering the light volume with the depth buffer, a stencil mask is created, which then reduces the number of pixel operations.


Left is a normal screenshot from the game, while the right shows the stencil mask for the player's flashlight
Static & Dynamic Shadows
Another performance gain was to separate shadow rendering to two different textures, one that is for static objects, and the other for dynamic objects. The implementation was fairly difficult due to the many cases where a static map could become invalid. If any object that has been drawn to the static map moves, then it becomes invalid and must be drawn again. To reduce how often this happens, once something moves it is considered dynamic and cannot be drawn to the static map again. Furthermore, if a static light moves, then the light is considered dynamic, and everything will be drawn to the dynamic map even if the objects are static.
Scene Graph Improvements
With many more objects in the level, it was no longer appropriate to have one big Octree for everything. Therefore, it was divided into static, dynamic, and a separate tree for occluders. The dynamic tree is slightly expanded to reduce the number of times the tree needs to be cleaned up when objects move, while the static tree is tightly fit into its objects. This both helps yield a faster insertion, removal, and query, while also allowing one to quickly retrieve static or dynamic objects to, for example, render static/dynamic shadow maps.
Occlusion Culling
You read about Occlusion Culling here.
Lit Transparency
In the game we wanted to have support for transparent windows, however, while we had support for unlit transparency, there was no system in place to handle lit transparency. Having lit transparency would make it possible for, e.g., the player's flashlight to light up the window. The solution was to query lights intersecting the bounding box of the mesh, and send their data when rendering the mesh.
Animation Blend Tree
For our game character, we wanted to have support for 8-way locomotion, where the animation differs based on direction headed. Based on Unity's animation blend tree, animations can also be given a position in 2D blend space. To blend animations in this space, a sample position is provided that will compute the weights on the nearby animations by Cartesian-space interpolation.
Once the weights have been computed, the animations joint transforms are blended together and returned. A tricky problem was combining the rotation matrices based on weights, and was solved by computing an approximation of the dominant eigenvector from the combined rotations.

Root Motion
Root motion functionality was added because it looks far better when the movements of the characters match exactly how the animations appear. The implementation is simple, by retrieving the position of the root joint, you can use it to move the character. However, some complications arose when combining animation blending with root motion due to there be no well-defined way to handle it. The way I solved it was to disregard the blending entirely, and track only the root motion from the state being blended to.
The GIF to the right shows an enemy using root motion to run towards the player.

Additive Animation
Additive animations make it possible for you to overlay an animation onto another. For example, when the player fires the pistol, a layer can be added onto the player where they recoil backward. It was implemented by measuring the difference of each joint from the first frame (The first frame thus becomes obsolete and is removed). The joint difference is then simply combined with the result from other layered animations.

Particle Editor
You read about the Particle Editor here.
Animation State Machine Export
With animations becoming increasingly more complex to organize and tweak, I decided there needed to be some tool that could help alleviate. Luckily, since we work with Unreal, I attempted to export Unreal's animation blueprint to a JSON file that can later be read and imported in our engine.
Given that the animation logic in our engine are purely state machines, the only nodes that required export were the state machine node, its contained states, and a state's base animation and layers. Custom blueprint nodes were created for base & layered animations because we have our own parameters for them that differs from Unreal.


Screenshot of the Default animation state in the state machine, where the blue node is a base animation, and the purple are layers
Enable/Disable Export
A quick thing that I added support for was exporting from Unreal whether a component or actor is enabled or disabled in our engine. Primarily, this helped with hiding enemies in the game, that are later activated when the player touches a trigger.
Physically Based Bloom
Physically based bloom was implemented based on this article by Alexander Christensen:
https://learnopengl.com/Guest-Articles/2022/Phys.-Based-Bloom
The new bloom better fits into the HDR rendering pipeline, allowing material with a higher intensity to emit a noticeable glowing effect.

HBAO
HBAO was implemented to improve the shadows rendered around objects, whereas the previous SSAO was barely noticeable and had ugly artifacts.

HBAO

SSAO
SSR
SSR is a post-process effect that renders simple reflections by projecting rays with the view-space normals and reading the colours from the scene texture from where they hit. SSR can be seen on objects with high metallic properties, and roughness will make the reflection more blurred.

Before

After
Player
I worked with several mechanics relating to the player, e.g., movement, handgun combat, melee combat, healing, dodge, taking damage, death, and flashlight. I won't sadly go into detail, but if you're interested in how I solved some particular problem relating to it, just send me a message and I'll be happy to respond.